
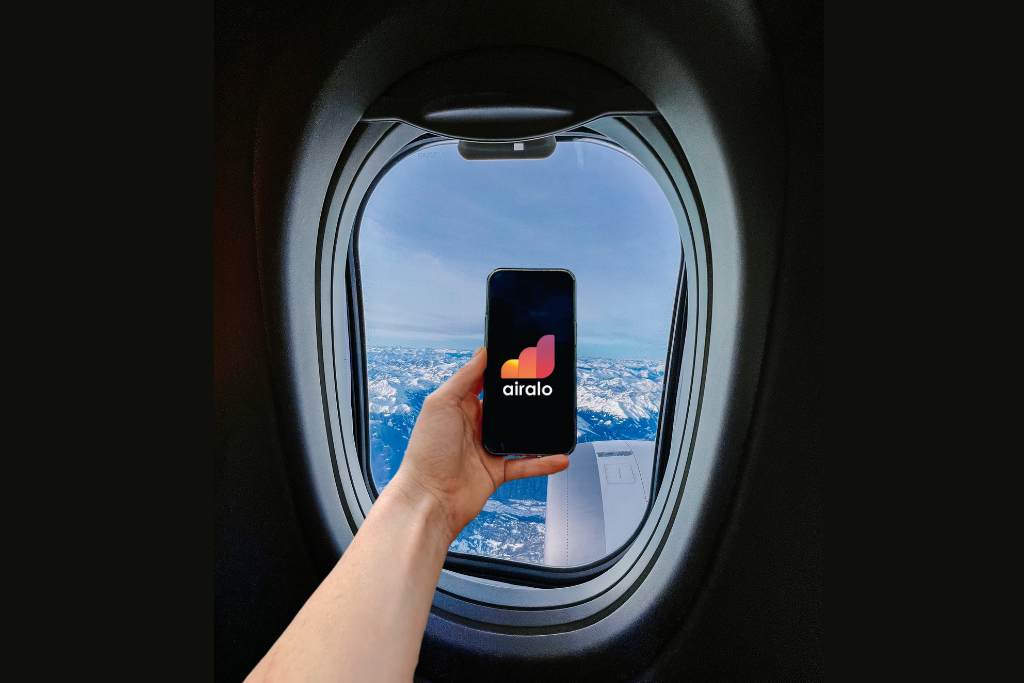
One of the most asked travel questions we get asked is, how do you use your phone when traveling internationally? If you’re traveling internationally and want to be able to use data with your phone, an eSim will be your best option. Airalo is one of the first ever and most efficient international eSim companies. By using an eSim, you do not need to replace your regular sim card in your phone. Follow the steps below to install your Airalo eSim and have international data in just a few minutes!
If you do not wish to set up an eSIM, check out our post about the best international phone plans.
Use code JLJ10 to save 10% on all Airalo purchases!
Pro-tip: Confirm with your phone carrier that your mobile device is carrier-unlocked and eSim-compatible. We have never personally had an issue making the switch while traveling, but you should check with your specific phone carrier just in case!
What exactly is an Airalo eSim?
Airalo is an eSIM company that allows you to easily switch between international data plans without having to change your phone number. This is a huge advantage over traditional SIM cards, which require you to physically swap out your SIM card in order to switch to a new plan.
With Airalo, you can simply purchase a data plan for the country you’re visiting and then install it on your eSIM-compatible device. Once the plan is installed, you can switch between it and your home plan with just a few taps in your phone’s settings. Airalo is ideal for travelers, digital nomads and anyone else who needs to stay connected while traveling internationally.
There are many different Airalo data plans to choose from both in time, location and amount of data needed while traveling. You only need to purchase data for the exact time or amount you will need while traveling. You can easily add more to your account as needed.
Nuances with using an Airalo eSim
It is important to note that Airalo only provides international data, not international phone connectivity. Because of that, you will not receive standard text messages that are sent to your phone number while using Airalo.
If you are an iPhone user, you will also only receive iMessages that are sent to the email address associated with your Apple ID. Unless these messages are sent to that email address, you will miss out on group and individual texts sent only to your phone number.
One way around this tricky eSim quirk is to have your contacts add your Apple ID email to your contact information and group text chains before you leave for your trip. You should also encourage friends and family to reach out to you through WhatsApp, as you can keep your same phone number in that app. You will be able to make phone calls with your original phone number over Wi-Fi calling or WhatsApp.
How to set up your Airalo eSim
1. Download the Airalo App.
You can find the app (available on iOS and Android) in the app store. Make sure to use the code JLJ10 to save 10% on all purchases.
2. Choose your destination
The length and type of your trip you are embarking on will determine which package makes the most sense for you. If you are only going to one country, then select the country to see the available packages and pricing. If you are going to multiple countries in a region, then you should select the region as a whole.
The package you select will have a specific number of days and amount of data included. For example, we purchased a 90-day package with 50GB of data for the summer we spent in Europe. On day 90 of the package, Seth still had 3GB left that we were not able to use because the package expired after 90 days.
Prices are also not fixed across countries and regions because Airalo’s eSim needs to activate cellular data using local towers. For example, a 1GB/7 day package in Italy is $5, but the same package in Costa Rica is $9 (at the time this post was published). Prices are subject to change by region by country.
3. Install your eSim
After choosing and paying for your package, you will be prompted to install your eSim from the Airalo app. This step will sometimes take several minutes. You should prepare to not use your phone while the eSim is getting installed on your device.
Note: This step can be done only once. Make sure you are somewhere with wifi or are still on your own cellular data when you go to install your eSim.
4. Activate your eSim
Once your eSim has been installed, you can then activate it in your setting. Here is where you will find the eSim:
- Apple: Settings → Cellular
- Android: Settings → Network & Internet
Name your new eSim. We recommend naming your new eSim before you switch over so that you can easily keep track. Typically your primary eSim will show your phone number and is the one that is on your main cellular network. An example of a name for your travel eSim would be “October Italy Trip” or “Summer in Europe”.
Turn off your current eSim. Do NOT delete this eSim. Simply toggle off the switch that states “Turn On This Line”.
Turn on the new eSIM. Use the same process as above, but this time toggle on the switch that states “Turn On This Line”.
Once you activate your new eSim, prepare to wait 5-20 minutes before it will begin to work. You will know it is working when your phone connects to a local network as long as you are actively in the country of the eSim package that you purchased.
What to do if your eSim is not working?
Restart your device
As classic as it is, the first step to troubleshooting your eSim is to turn your phone off and on. Most of the time this will solve the problem.
Ensure that apps are not blocking the eSim from working
If restarting your device does not work, check that your VPN is not blocking its capabilities. If you have a VPN app, turn the cellular data on. Otherwise, it will just block your eSim from working.
Make sure to follow all specific instructions that Airalo provides
Specific steps for set up may vary by country. For example, we traveled to Mexico City and there was an additional action needed in order to activate the eSim. Airalo will provide those additional steps and nuances in the app depending on your specific destination!
Start a live chat with Airalo
If you are sure that you completed all of the necessary steps and your eSim is still not connecting, you may need to live chat with Airalo. They are typically very responsive and helpful. A customer service rep will assist you with connecting your eSim.
We hope this post helps you to easily install and activate your Airalo eSim! We have now used Airalo on three continents and it has saved us tons of money while providing us with great international phone service. Remember to use the code JLJ10 to save 10% on any Airalo purchase!